
Overview
Niobi gives you two ways to collect payments: integrate directly with the Unified Collections API for full control over your own checkout UI, or generate a Payment Link, a Niobi-hosted checkout page you can share with a customer without writing any front-end code. This page covers Payment Links, how to create one, and how the customer completes payment on it.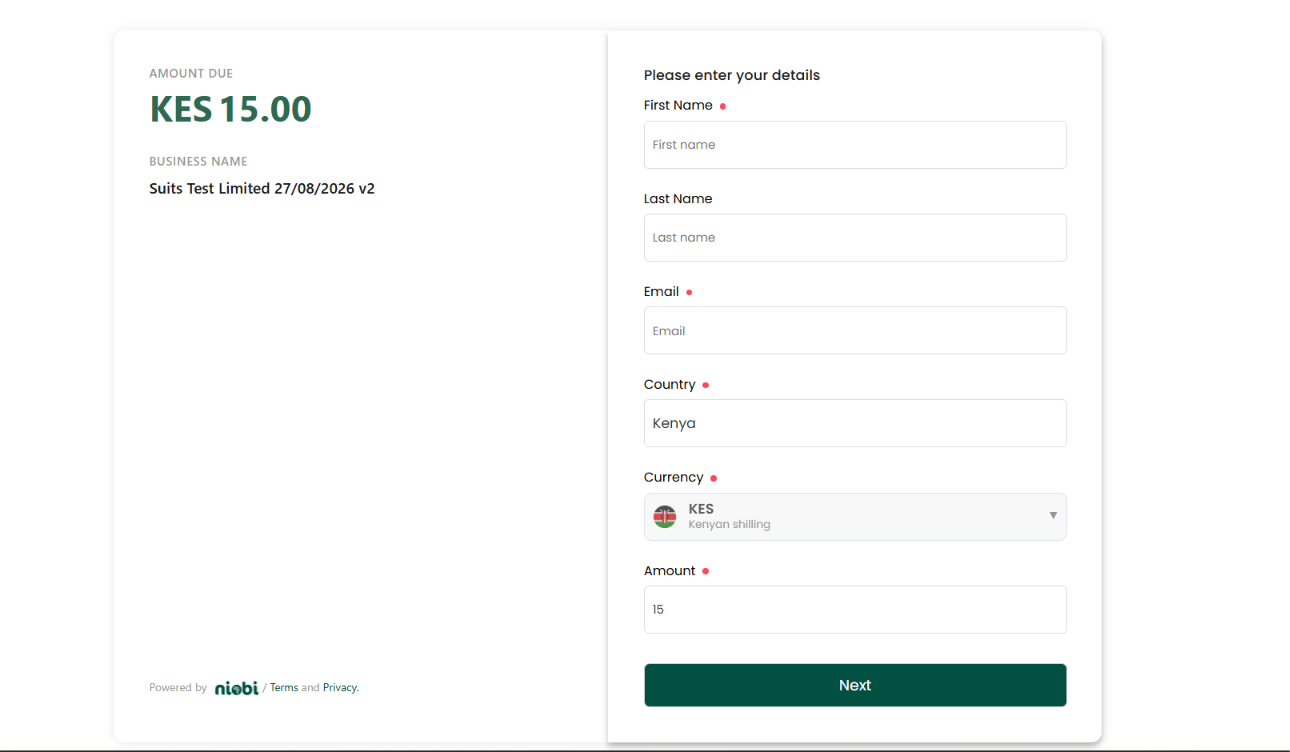
Why Payment Links?
- Zero front-end engineering: Niobi hosts the entire checkout page, so you don’t need to build payment forms, input masks, or error-handling UI.
- Multi-currency & country support: Payer details, country selection, and currency are handled on the page itself.
- Flexible distribution: Share the link over WhatsApp, SMS, invoices, email, or a website or app checkout button, or embed it as a QR code for a customer to scan in person.
- Instant reconciliation: When the customer completes payment, Niobi credits your merchant wallet and dispatches the same webhook callback (
payment_step: 2) used across every other collection method.
Two Ways to Create a Payment Link
A payment link can be created in one of two ways, depending on who is creating it and why:Dashboard (No-Code)
Built for a person creating a link by hand: sales, support, or finance staff sending a one-off link to a specific customer, invoice, or order, with no engineering work involved.
API (Programmatic)
Built for your own systems creating links automatically: for example, generating a unique link every time an order is placed on your platform, tied to your own order reference, with no manual step in between.
Method 1: Via the Dashboard
1
Log in to the Niobi Dashboard
Navigate to Payments → Payment Links.
2
Click Create Payment Link
Enter the item name, currency, and amount. The amount can be fixed, or left for the customer to enter themselves.
3
Copy the generated checkout URL
The link is ready to share immediately, no further setup required.
Method 2: Via the API
1
Call the Create Payment Link API
Send a signed request to the Create Payment Link API (
POST /api/v3/payment-link-api/create) from your backend.2
Optionally pre-fill the payer's details
Pass
first_name, last_name, email, and phone at creation time so the checkout page loads with the customer’s details already filled in, they only need to pick a payment method and confirm.3
Retrieve and manage links programmatically
Use the Payment Link List API (
GET /api/payment-link-api/list) to view, filter, or retrieve links you’ve created.How the Customer Completes Payment
Regardless of how the link was created, the customer experience and the settlement flow are identical:1
Customer opens the link
Whether the customer clicked the link directly or scanned it as a QR code, they land on the same clean, branded Niobi checkout page shown above.
2
Customer confirms details and pays
Their name, email, country, and currency are pre-filled automatically if you supplied them at creation. The customer then picks their preferred local payment channel (Mobile Money, Bank Transfer, or Card) and completes authorization.
3
Webhook callback
Once the transaction settles, Niobi sends a terminal callback (
payment_step: 2) to your configured webhook URL, the same shape you’d receive for a direct API collection. See Collection Callbacks for the full payload and how to reconcile it.