Whitelisting ensures only trusted systems can access our APIs and receive sensitive information like transaction or webhook data.
Portal IP Whitelisting (Guide)
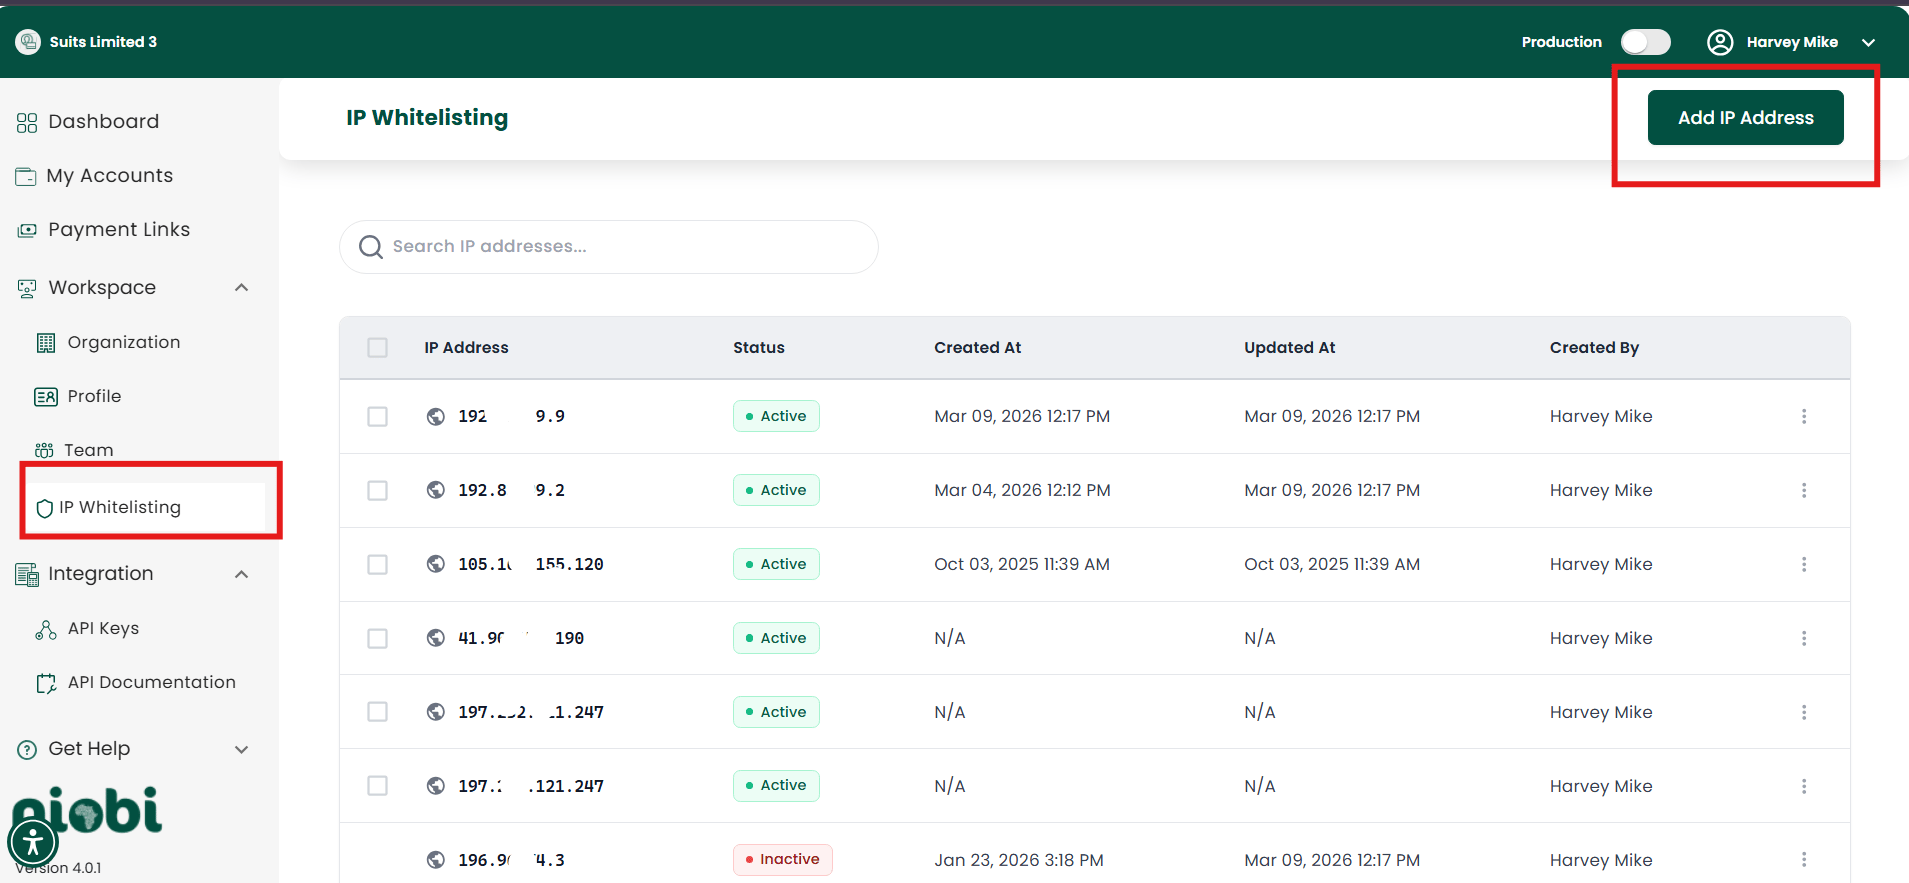
To manage IP whitelisting directly in the portal, follow these steps:- Log in to your Niobi dashboard.
- Navigate to Workspace.
- Select IP Whitelisting.
- Click Add New to add a new IP address
- Fill in the IP address details and save.
- To change an entry, click Edit, make your updates, and save.
- To remove an entry, click Delete and confirm.
Using this portal workflow avoids manual email requests and lets you maintain security in real time.
How to Check Your Public IP
Here are quick ways to find your public IP:- Through the terminal — run
curl ifconfig.me - Through online sites like whatismyip.com or ipinfo.io
Dynamic IP? Here’s What to Do
If your server has a dynamic IP (i.e. it changes), we recommend switching to a static IP to avoid disruptions.Webhook Notifications - IP to Whitelist
If you’re integrating webhook notifications, make sure to whitelist our IP address to receive updates. Kindly send an email to support@niobi.co to get access to the necessary IPs for whitelisting.How to Request Whitelisting
As an alternative to the portal whitelisting in case of any queries, you can request IP whitelisting by contacting us via:- Email: support@niobi.co
- Support Chat: Available through our current support channels either on Slack, Whatsapp, Telegram